
Pi-Hole requirements
Pi-Hole is a lightweight solution, and that doesn’t require much processing power to install it. In fact, it’s mainly used on the Raspberry Pi, a tiny computer with limited CPU and RAM, so it shouldn’t be an issue on any standard computer.
In their documentation, Pi-Hole recommends at least 2 GB of free space on the disk and 512 MB RAM.
Your computer will be perfect, but you can also use a Raspberry Pi 4 or a minimal Intel NUC for example. You can also install it on a Synology NAS, with a docker container.
Note: If you are trying this on a Raspberry Pi with the default operating system, I have a detailed tutorial on how to install Pi-Hole on Raspberry Pi. In this article, I’ll focus on Ubuntu.
Update your operating system
Once your hardware is selected and Ubuntu is installed, the first thing to do is to update your system. It’s a good practice to follow before installing anything on your system, just to avoid dependency issues and version incompatibility.
You can do this easily in a terminal:
sudo apt update

sudo apt upgrade
Or use the software updater tool in the graphic interface if you are using the Desktop version:
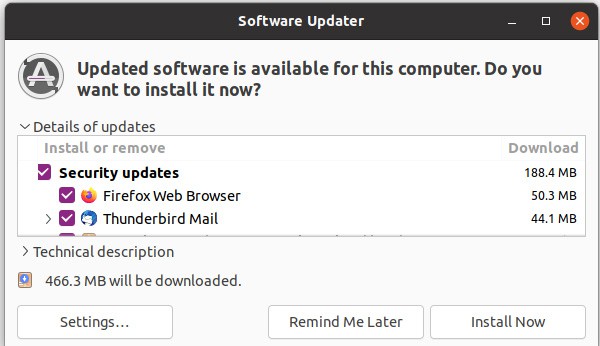
Click on “Install now” and type the user password to confirm the installation.
A reboot is probably a good idea if you have many updates to catch up on.
Then you’ll also need to install curl on your system if not already there:
sudo apt install curl
The Pi-Hole script will install anything else after that.
Pi-Hole installation script
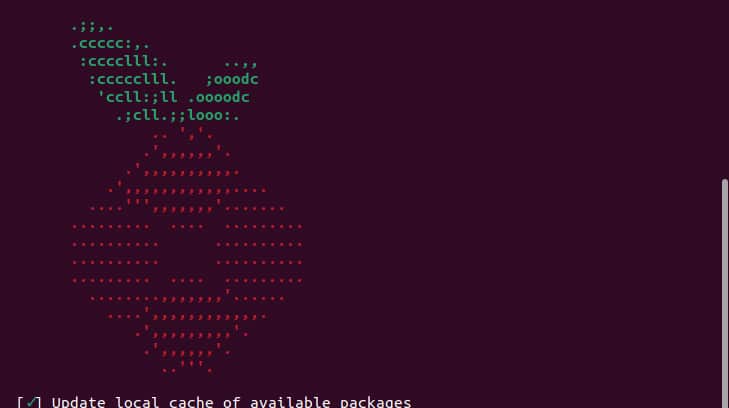
Once your system is ready, the installation can be done with only one command, by copying and pasting this into a terminal:
curl -sSL https://install.pi-hole.net | bash
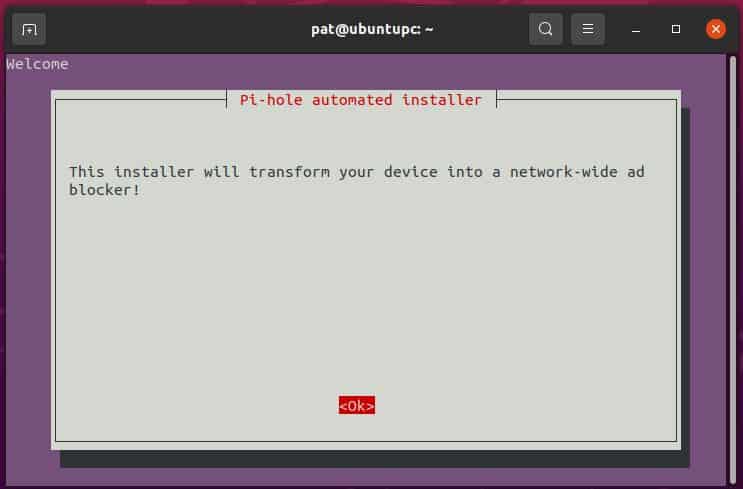
The process is almost automatic, but you still need to answer a few questions to adjust your settings:
- Type your user password, and the installation starts:
- A few seconds later, a wizard will show up with a few questions for you to answer:
Just confirm by pressing Enter for the first few questions. - Then choose your DNS provider:
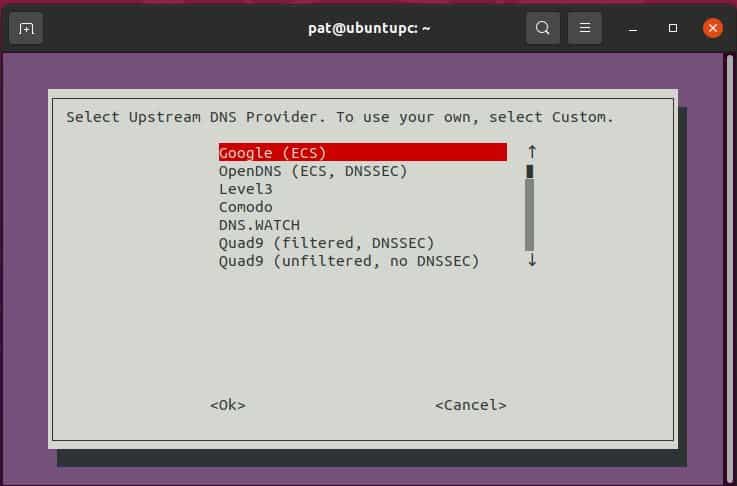
Google is fine, but you can choose another one if you prefer. - Pi-hole relies on third-party lists to block ads. By default, it will use StevenBlack’s host list, but you can deselect it if you want (not recommended).
Press Enter to continue (and the space bar to select/deselect). - Then, select the protocols you want to use (I recommend keeping both).
- Pi-Hole will use a static IP address (to avoid reconfiguring everything each time it uses a new IP).
The next step is to configure if you want to keep the current IP or set another one manually.
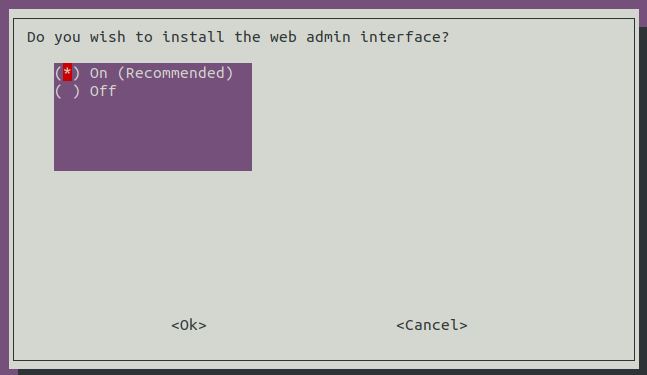
It depends on your network, at home you can probably keep the default one without any major issues. - Then confirm to enable the web interface and the web server (highly recommended):
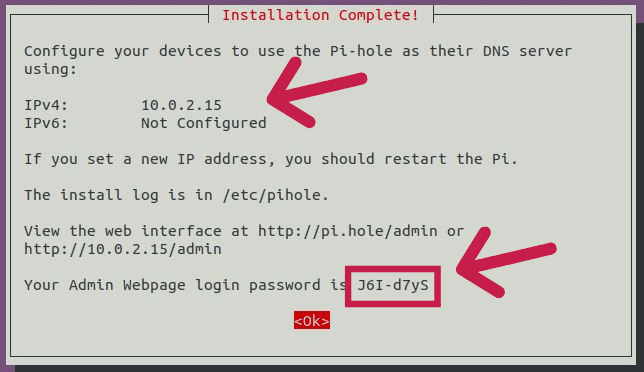
- A couple of questions later, the installation wizard will configure everything as requested.
Make sure to not use the default password and move to the next step.
Configure your clients to use Pi-Hole
Once your server is installed, the next step is to configure your network to use this server. Pi-Hole works like a DNS server, so you need to change the primary DNS server on all of the devices to use the Pi-Hole IP address.
This can be done manually on each device, but the easiest way is to change the default DNS server in your DHCP configuration.
Edit the DHCP configuration to set Pi-Hole as the default DNS
The easiest way to config all devices at once is to go to your DHCP server configuration and set the primary DNS server to the Pi-Hole server IP address.
If you are installing this at home, your DHCP server is probably your Internet router.
I won’t explain how to do this in detail, as it will be different for each provider and router, but as a whole, the idea is to find the DHCP settings on the web interface and change the DNS server IP address.
By default, it’s probably the DNS server from your provider.
In my case, it was in the DNS settings:
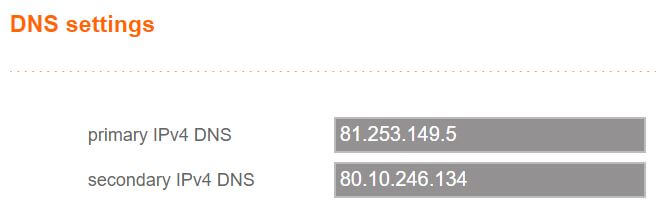
Once you find something like this, remove the default values and set the primary DNS server to your Pi-Hole installation IP address (probably something like 192.168.1.X or 192.168.0.X). Leave the secondary DNS server empty.
It may take a few hours to update the configuration on all devices on your network, but it will be done automatically.
Change the network configuration on each client to use Pi-Hole
The alternative is to manually update the configuration on each device you want to use with Pi-Hole. This might take more time, especially if you have many devices on your network, but this way you can make sure everything is working before breaking the Internet for the whole family!
On Windows 10:
- Right-click on the “Start Menu” and choose “Network Connections”.
- Then click on “Change adapter settings”.
- Right-click on your current connection and choose “Properties”.
- Double-click on “Internet Protocol Version 4 (TCP/IPv4)”.
- Set the DNS server to static and enter your Pi-Hole server IP Address.
Keep the secondary DNS server empty.
On Linux and Mac OS:
- If you have a graphical interface, you’ll find the network settings in the System Preferences.
- If not, you can edit the /etc/resolv.conf file and replace the current DNS server with the Pi-Hole IP address.
On mobile, it’s in your Wi-Fi settings.
Click details or edit the network on a network to see the DNS configuration.
How to know if Pi-Hole is working?
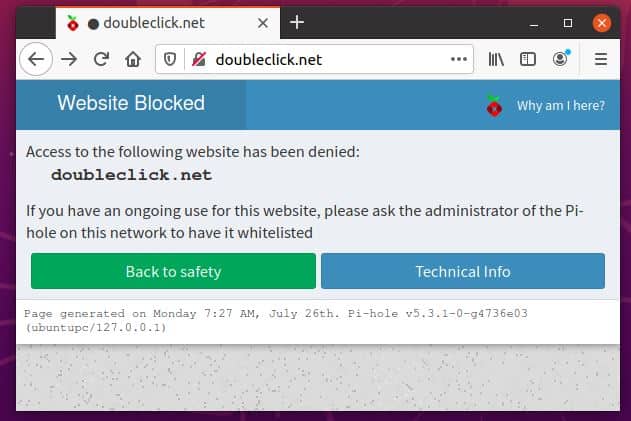
To know if Pi-Hole is working, you can go to the web interface and check if it’s blocking ads. Another way is to try to access a domain hosting ad (like doubleclick.net) and verify that the Pi-Hole page appears instead of the website content.
The web interface is enabled on http://localhost/admin (if installed on your computer) or http://IP_Address/admin (if installed on another computer). The default password is provided at the end of the installation.